Contents
- 1 Causes of Air Accumulation
- 2 Identifying Symptoms of Air in Coolant Systems
- 3 Tools and Equipment Required
- 4 Step-by-Step Guide to Remove Air from Coolant System
- 5 Alternative Methods for Air Removal
- 6 Common Mistakes to Avoid
- 7 Post-Purging System Check
- 8 Extending the Coolant System’s Lifespan
- 9 FAQs
- 10 Conclusion
Causes of Air Accumulation
Air can enter your engine’s coolant system through a leak in any component, including hoses or seals. See a qualified mechanic who can accurately diagnose problems with your radiator cap, thermostat, water pump, or hoses based on their knowledge and experience servicing similar parts on other cars. This is especially important if you are unsure or suspect that there may be an internal leak in any of these components.
Air can also get into the cooling system through faulty components like a faulty thermostat or water pump impeller blades becoming bent due to overheating during operation without sufficient coolant available at all times while driving around town on hot summer days–this causes increased wear, which eventually leads up until failure occurs when either part begins leaking large amounts of hot fluid onto nearby surfaces such as spark plugs/valve covers which could cause fires if left unchecked long enough!
Identifying Symptoms of Air in Coolant Systems
Several signals will tell you if you have a coolant system with air in it. One of the most obvious signs of a problem is overheating.
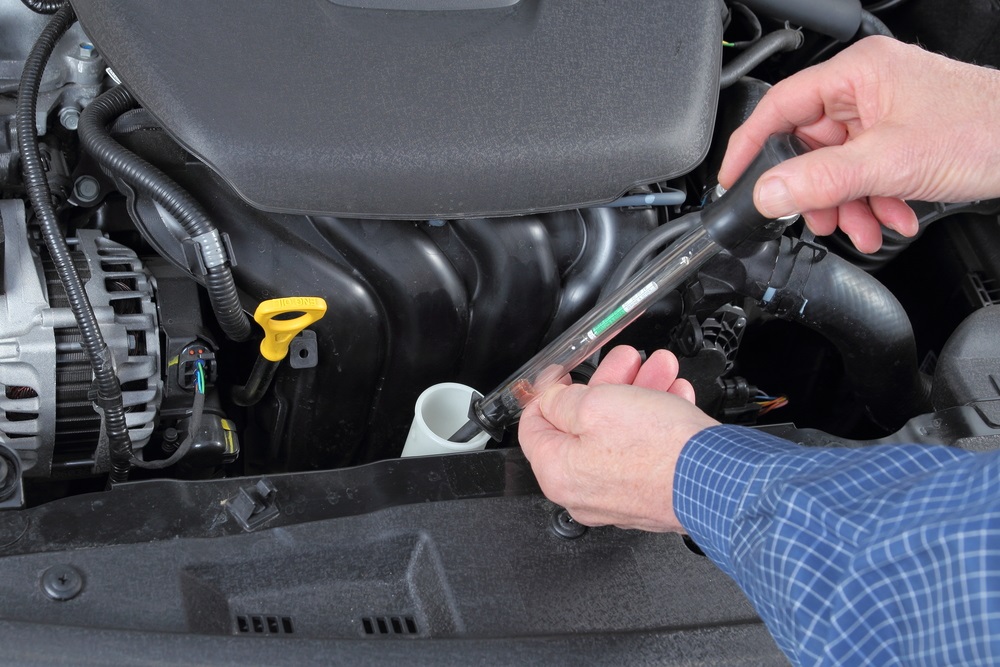
The engine may overheat due to an internal leak or because the thermostat has failed to open, allowing coolant to flow through your engine when needed. Other signs include:
- Unusual noises from inside the engine (such as tapping or knocking).
- Visible leaks around hoses or gaskets.
- White smoke comes from your tailpipe when you’re idling or driving slowly.
Tools and Equipment Required
The tools and equipment required for this job are as follows:
- Motor oil (about 2 quarts)
- Coolant (1 gallon)
- Coolant recovery bottle
Step-by-Step Guide to Remove Air from Coolant System
Read the steps below to get a detailed overview of how this process is done:
Preparation Phase
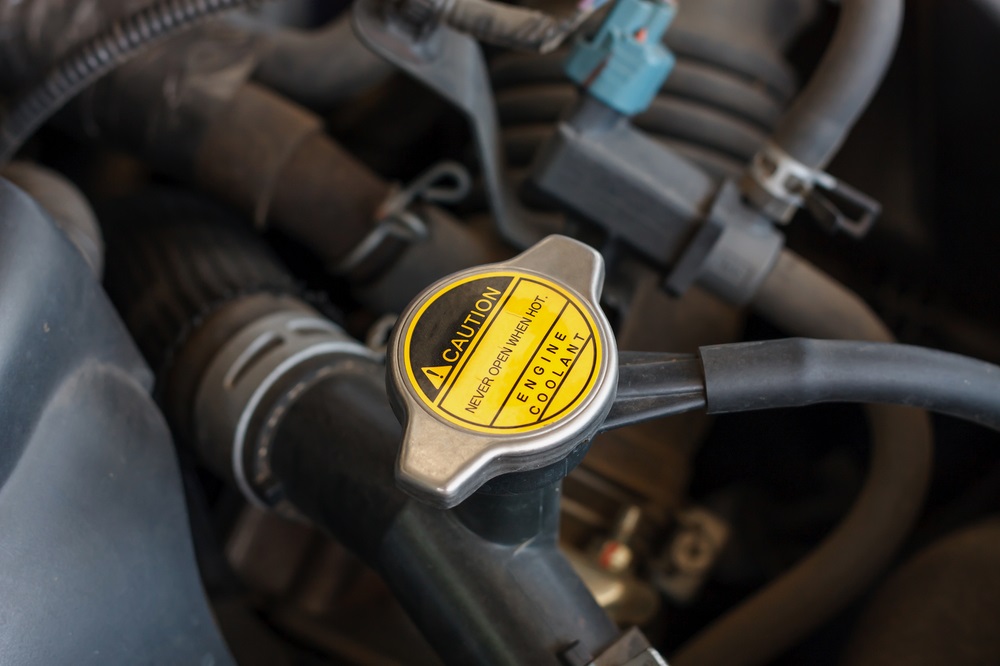
Before you start, make sure that your car is off and cool. Then, shut off the engine and remove its radiator cap. Check the coolant level in the reservoir by removing its filler cap (if applicable) or opening up a small hole on top of it with an ice pick or screwdriver. If there needs to be more coolant in there already, add some until you reach full capacity–but make sure to fill it in! Now, put everything back together again:
- Install your new hose with washers on each end.
- Reattach any other hoses that were removed during installation.
- Finally, replace your radiator cap by hand-tightening only until snugness is achieved (don’t overtighten).
Locating Coolant Bleeder Valves
The coolant bleeder valve is a small screw cap that can be found on the radiator cap. The coolant bleeder valve is usually located on the top of the radiator but may also be found on either side or at the bottom of some radiators.
To find your car’s coolant bleeder valves:
- Open your hood and locate your vehicle’s engine compartment by looking for signs like belts, hoses, and wires.
- Look for any devices that have air bubbles coming out of them–this will indicate that there are air bubbles in your cooling system, and you should use these to drain them out.
Initiating the Purging Process
The first step to purging your coolant system is to start the engine and open the coolant bleed valve. This will allow air to escape from within it as you run the car, which allows you to remove any trapped pockets of air that could cause problems later on.
Once you have done this, please wait for your engine’s coolant to flow out of this particular line before closing it again not to trap any more air inside!
Ensuring Complete Air Removal
You should perform a few simple tests to ensure all the air has been removed from your cooling system.
- First, use a vacuum pump to remove residual air from the coolant system. This will help prevent any future problems with overheating or freezing that trapped pockets of air could cause within the system.
- Once you’ve finished using your vacuum pump, check for pressure in each cooling system component. Suppose there isn’t any pressure in any part of it (including both ends). In that case, some trapped air pockets within those areas may still exist. They need further inspection before they can be considered safe again.
- It’s important because it can cause damage and strain parts like seals and gaskets, which may eventually lead them to fail prematurely if not properly maintained.
Alternative Methods for Air Removal
If you’re uncomfortable using a pressure tester or don’t have access to one, other methods exist to remove air from your antifreeze & coolant system.
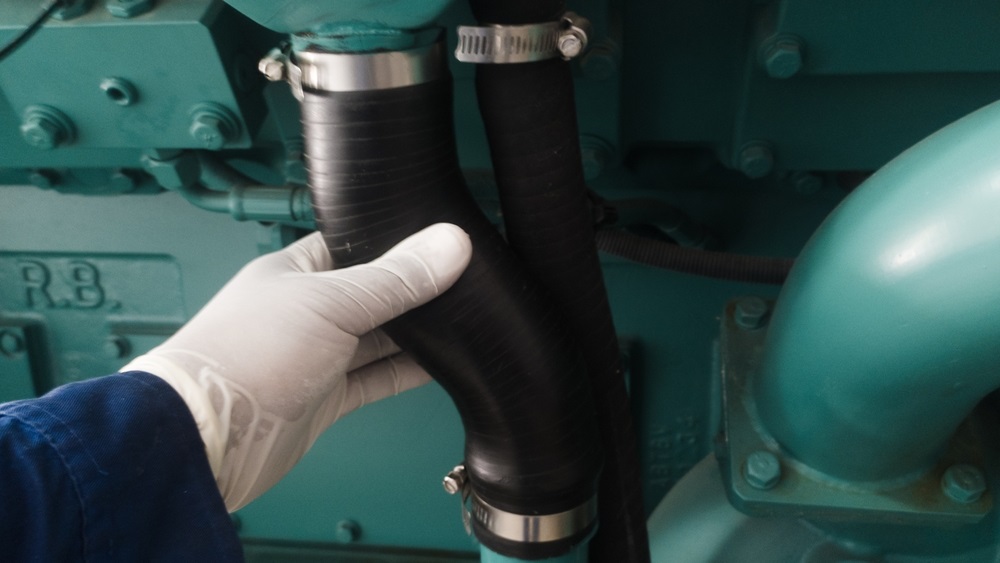
- Take your car to a mechanic and ask them to remove the air from your system. This is the best option if you have little experience with cars and want someone else to do this work for you. The downside is that it can be costly if they charge by the hour or mile (and many mechanics do).
- Use a vacuum pump instead of manually pumping out the coolant yourself (as described above). With this method, attach a hose from an automotive vacuum pump onto each end of both hoses leading from underhood–one going into each radiator side tank–and turn on both pumps simultaneously until they start sucking air out through their respective hoses; then shut off one so that only one hose remains connected while continuing pumping until no more bubbles come out through either hose/tank connection point before reconnecting both hoses and turning off both pumps again.
Common Mistakes to Avoid
While working on the cooling system, you should always wear safety glasses and protective gloves. Ensure you have an air compressor or a compressed air tank for the job and a pressure gauge to check your progress.
Post-Purging System Check
After purging the system, check your engine temperature. If it’s still too high, this may indicate that you have air trapped in the cooling system.
If your coolant level is low, add more until it reaches the appropriate mark (or above, if possible).
Extending the Coolant System’s Lifespan
You can extend the lifespan of your coolant system by checking coolant levels regularly and ensuring they’re filled to the correct level.
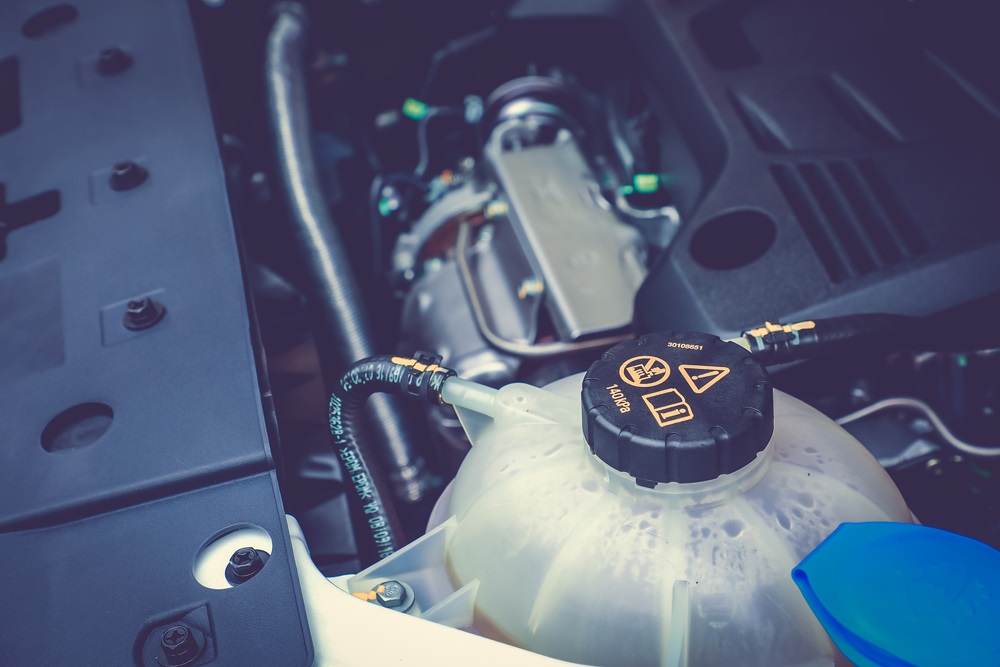
It would help if you replaced it every few years or when you have an oil change or other maintenance service performed on your vehicle.
- Don’t use too cold or hot water when filling up your radiator–this will cause air bubbles to form in the system and over-inflate it, which could lead to leaks or cracks in hoses, tanks, and radiators.
- Avoid using ethylene glycol-based antifreeze instead of propylene glycol–it’s more toxic than propylene glycol. It may cause damage if ingested by children or pets who ingest spilled fluid from cars’ cooling systems (which happens more often than most parents realize).
FAQs
Why is Air in the Coolant System Problematic?
Air trapped in the coolant system can hinder proper circulation, leading to overheating. It can also cause erratic temperature readings and potential damage to engine components due to localized hotspots.
How Does Air Get Into the Coolant System?
Air can enter the system during maintenance procedures like coolant changes, repairs, or due to a leak in the system. It can also be introduced if the coolant level drops significantly.
What Are the Signs of Air in the Coolant System?
Symptoms include elevated engine temperature, fluctuating temperature gauge readings, coolant leaks, bubbling sounds from the radiator, and reduced heat output from the heater.
How Can I Remove Air From the Coolant System?
To remove air, perform a “bleeding” or “burping” process by locating the system’s bleed valve or highest point, and with the engine off, slowly add coolant until air bubbles cease. Alternatively, using a vacuum filling tool can assist in purging air from the system.
Is It Possible to Prevent Air From Entering the Coolant System?
Regular maintenance, including checking for leaks, using proper coolant filling procedures, and ensuring all connections are secure, can help minimize the entry of air into the coolant system.
Conclusion
You can easily remove air from your coolant system with the right tools and knowledge. Need help with choosing the right coolant for your vehicle? Visit our website and book your delivery from Azure today.

